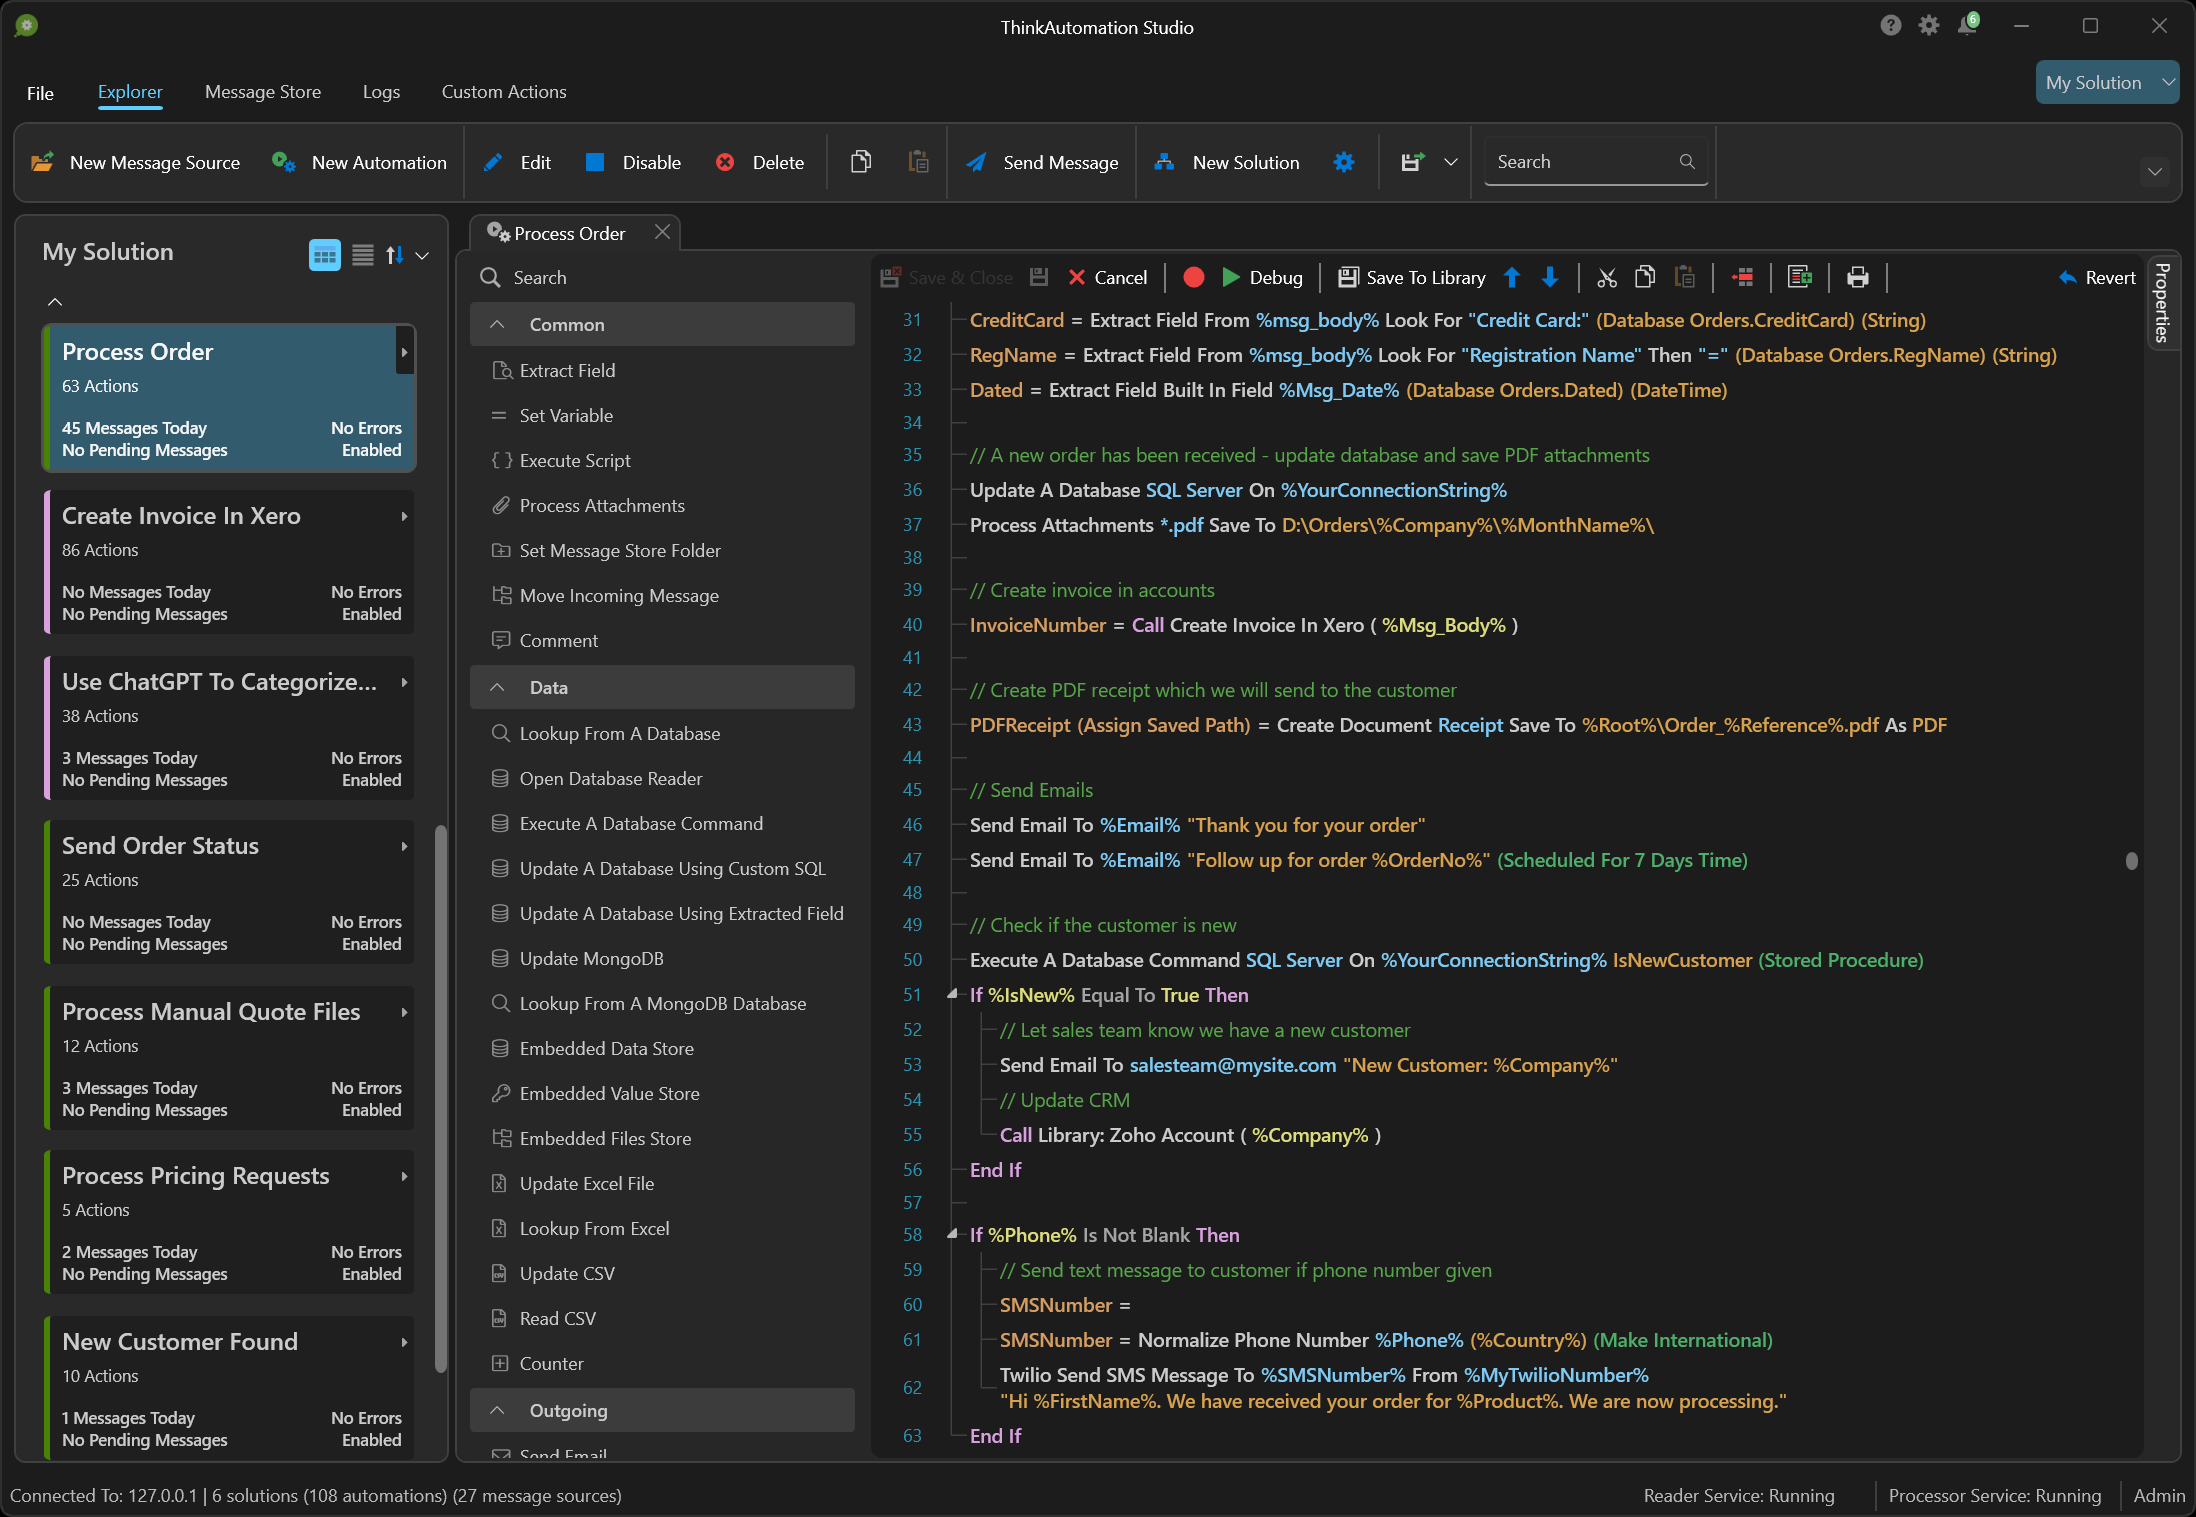
Getting Started With ThinkAutomation
ThinkAutomation is a business process automation server designed to streamline and automate on-premises and cloud-based business processes that are triggered by specific events or messages from different sources. Events can be trigged by incoming email, database changes, webhooks, web form & chat bot submissions, incoming SMS & Teams messages, documents & local file changes and other message sources.
When a message is received ThinkAutomation executes one or more workflow Automations. Automations are created using an easy to use drag-and-drop, low-code interface to automate simple or complex processes. Automations can perform many Actions that use data parsed and extracted from the incoming message. Actions include updating databases, CRM systems and cloud services, sending outgoing emails, Teams & SMS messages, document processing, custom scripting, AI integration and much more. Over 130 built-in actions are included, plus ThinkAutomation can be extended with Custom Actions that you can create yourself or download from our on-line library.
ThinkAutomation stores each processed message in the Message Store. The Message Store contains a copy of each message processed along with a log of Automation actions.
The ThinkAutomation Studio is used to setup your Message Sources, to design and test your Automations and to view the Message Store & logs. Multiple Message Sources and Automations can be grouped into a Solution. Any number of Solutions can be created. Once you have configured your Message Sources and Automations the ThinkAutomation Studio can be closed. Messages are processed in the background by the ThinkAutomation Services.
ThinkAutomation is a self-managed solution, which means it can be deployed either on-premises or on a private-cloud virtual machine of your choice. This gives you control over the hosting environment, reduces running costs, and enables the processing of private and sensitive data.

Visit: www.ThinkAutomation.com for more information and to download.
Requirements
ThinkAutomation requires Windows 10/11 (64bit) or Windows Server (2016 or higher) with 1GB of free disk space and 8GB or higher recommended ram. It can run on on-premise or cloud hosted virtual machines.
Installation
Download the ThinkAutomation.exe setup program (170mb). Run the setup to start the installation:
Click the I agree to the License terms and conditions option and then click the Install button to start the installation.
After a few minutes the installation will complete:
Click the Start ThinkAutomation button to start ThinkAutomation now, or click Finish to close the setup without starting ThinkAutomation. You can start ThinkAutomation later by running the ThinkAutomation Studio from your Windows Start menu.
First Time Configuration
There are a number of configuration steps to go through when you run ThinkAutomation for the first time.
1: Node Configuration
The Node Configuration Wizard will automatically start when ThinkAutomation is first run.
If you are evaluating ThinkAutomation or this computer will be your main ThinkAutomation computer, select Full (the default) and click Next >.
The Wizard will configure the ThinkAutomation services. Click Finish to close the Node Configuration Wizard.
The ThinkAutomation Studio will then start.
2: Registering
To register your copy, enter your Company Name, Contact Name & Email Address. If you are evaluating ThinkAutomation you can leave the Serial Number blank.
Click the Register button to complete the registration.
3: Setting Your Admin Password
You must create a Password which you will use when you login to the ThinkAutomation Studio. Enter the password again in the Repeat Password box.
A username 'Admin' will be created with your specified password. This user has full administrator access. If the Create regular user also option is enabled, then an addition user will also be created.
4: Configuring The Message Store
ThinkAutomation stores each processed message in the Message Store. The Message Store contains a copy of each message processed along with a log of Automation actions. You can view the Message Store using the ThinkAutomation Studio. The Message Store Database must be created when ThinkAutomation is run for the first time.
You can use the built-in SQLite database for the Message Store, or you can use an external Microsoft SQL Server, MySQL, PostgreSQL or MongoDB database.
The built-in SQLite database provides the simplest configuration and will work on any computer without any additional software. Using an external database may provide better performance but requires additional configuration.
Select the Use The Built-In Database option to use the built-in database.
Select the Use An External Database option to use Microsoft SQL Server (2012 or higher), MySQL (5.7 or higher), PostgreSQL (8 or higher) or MongoDB.
Click Next.
If you selected the built-in database option the configuration will complete and you can then login to the ThinkAutomation Studio.
If you selected to use an external database then you must then enter the connection details:
Select the Database Type (Microsoft SQL Server, MySQL, PostgreSQL or MongoDB). Depending on the database type you must enter the Instance/Server Address and any Authentication.
Click Create to create the database.
Note: The Database Server must already be running. For ease of implementation can can use Microsoft SQL Server Express (free). Install SQL Server Express on the same computer as ThinkAutomation (Note: SQL Server Express has a limit of 10GB per database).
Logging In
You can now login and start using ThinkAutomation.
Enter the Password you chose earlier and click the Login button.